How to Verify Website Revenue and Profit Claims
A practical method to verify a website's revenue and profit: source dashboards, payout records, bank matching, cost rebuilding and the warning signs of inflated income.

The price of a website is usually a multiple of its monthly profit, so every dollar of claimed income matters. A $500-a-month overstatement can add thousands to the price. Before you buy, you need to verify website revenue and profit yourself, from sources the seller can’t edit. This guide shows how: check each income source at its own dashboard, follow it through payouts to bank deposits, rebuild the costs, and look for the patterns that suggest income has been inflated.
Revenue checks go hand in hand with traffic checks; see our guide to verifying website traffic. For the overall process, see how to buy a website.
Key takeaways
- Check every income source live in its own dashboard, not in screenshots or spreadsheets.
- Follow the money: source dashboard, payout report, bank deposit.
- Rebuild costs from bank and card statements to calculate real profit.
- Look at 12 to 24 months, and separate one-off income from recurring income.
- Income that doesn’t follow traffic, or exists only in one place, needs an explanation.
Why revenue verification matters
Revenue is the easiest number to present and the most important to get right. Screenshots can be edited, spreadsheets can be typed, and a strong month can be shown as if it were typical. Because buyers pay a multiple of profit, any overstatement is multiplied too. Verifying revenue protects your money and gives you confidence in the price you agree, and it helps honest sellers too, because verified numbers are easier to sell.
Step 1: Check each source at its dashboard
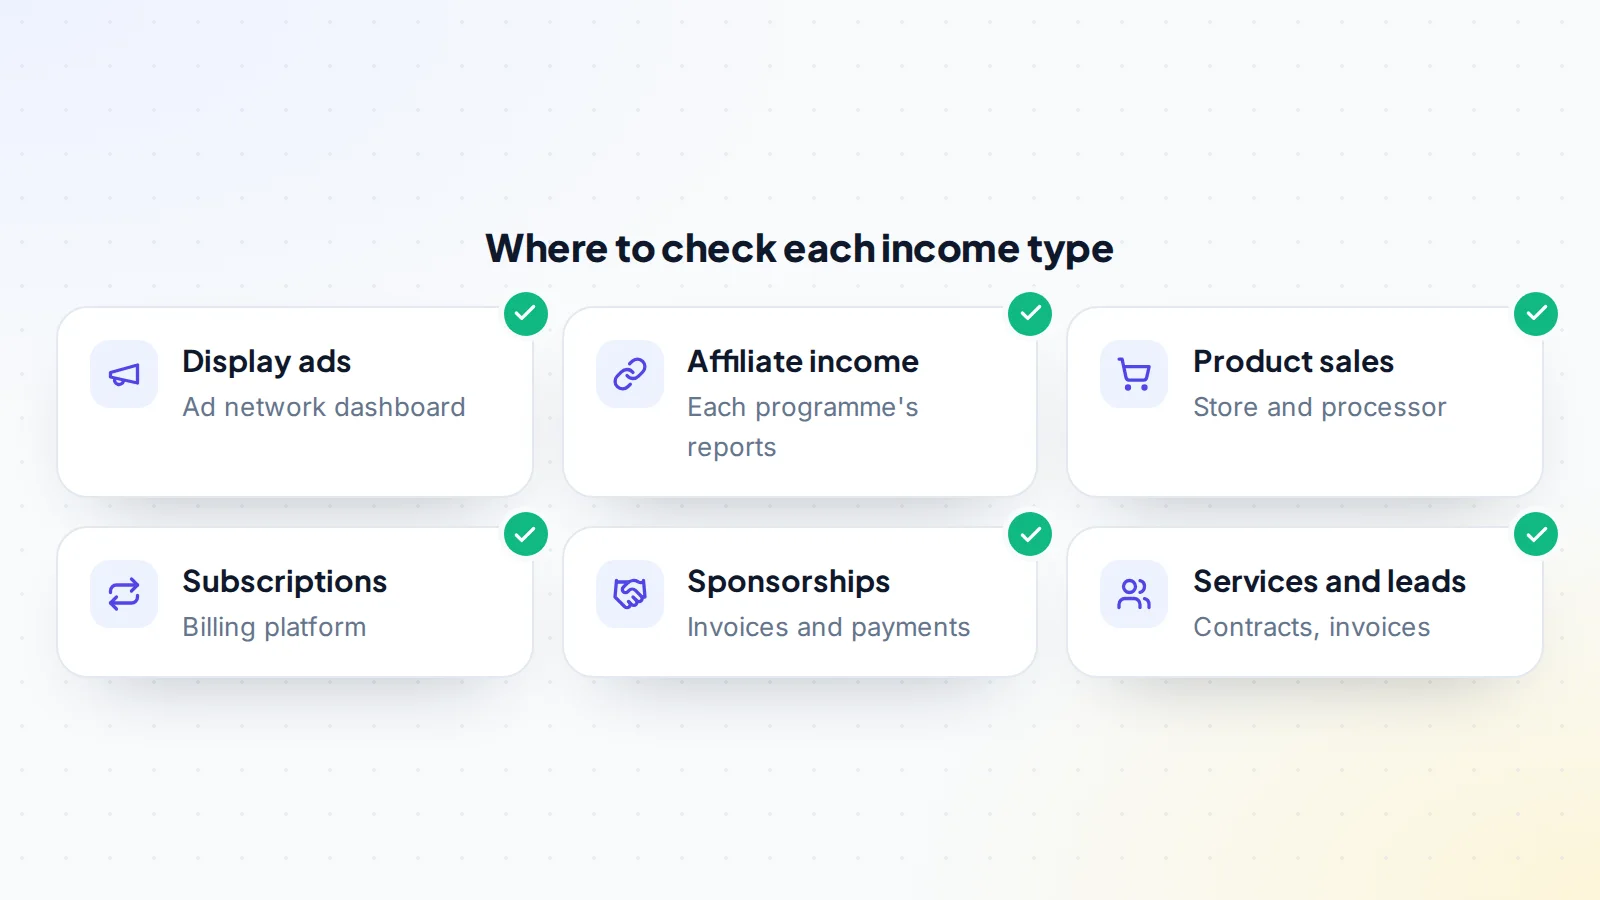
List every income source and ask the seller to open each one live on a screen-share, or give you read-only access where the platform allows it:
- Display advertising: earnings by month in the ad network’s dashboard.
- Affiliate programmes: each programme’s own earnings reports, by month and by product or link.
- Product sales: the store’s sales reports and the payment processor’s records.
- Subscriptions: the billing platform’s active subscriptions, renewals and churn.
- Sponsorships and services: contracts, invoices and payments received.
Direct what the seller clicks, and watch the address bar, so you know you’re seeing the real dashboard. Ask for the date range you choose, not the one already on screen, and look at several months rather than only the most recent.
Step 2: Match dashboards to payouts
Dashboards show earnings; payouts show what was actually paid. Payment processors provide payout reports that itemise the transactions behind each payout; Stripe, for example, explains that its payout reconciliation report and Dashboard show which charges, refunds and fees make up each payout. Ad networks and affiliate programmes have payment histories too. Compare monthly earnings with payouts, allowing for timing, since many networks pay a month or more after earnings.
Step 3: Match payouts to bank deposits
Ask for bank or PayPal statements, with unrelated personal transactions hidden if the account is shared, and match each payout to a deposit. This step is the hardest to fake, because it ties the business’s income to money that actually arrived. If the seller mixes business and personal money, ask for a list of business deposits with the matching statement lines.
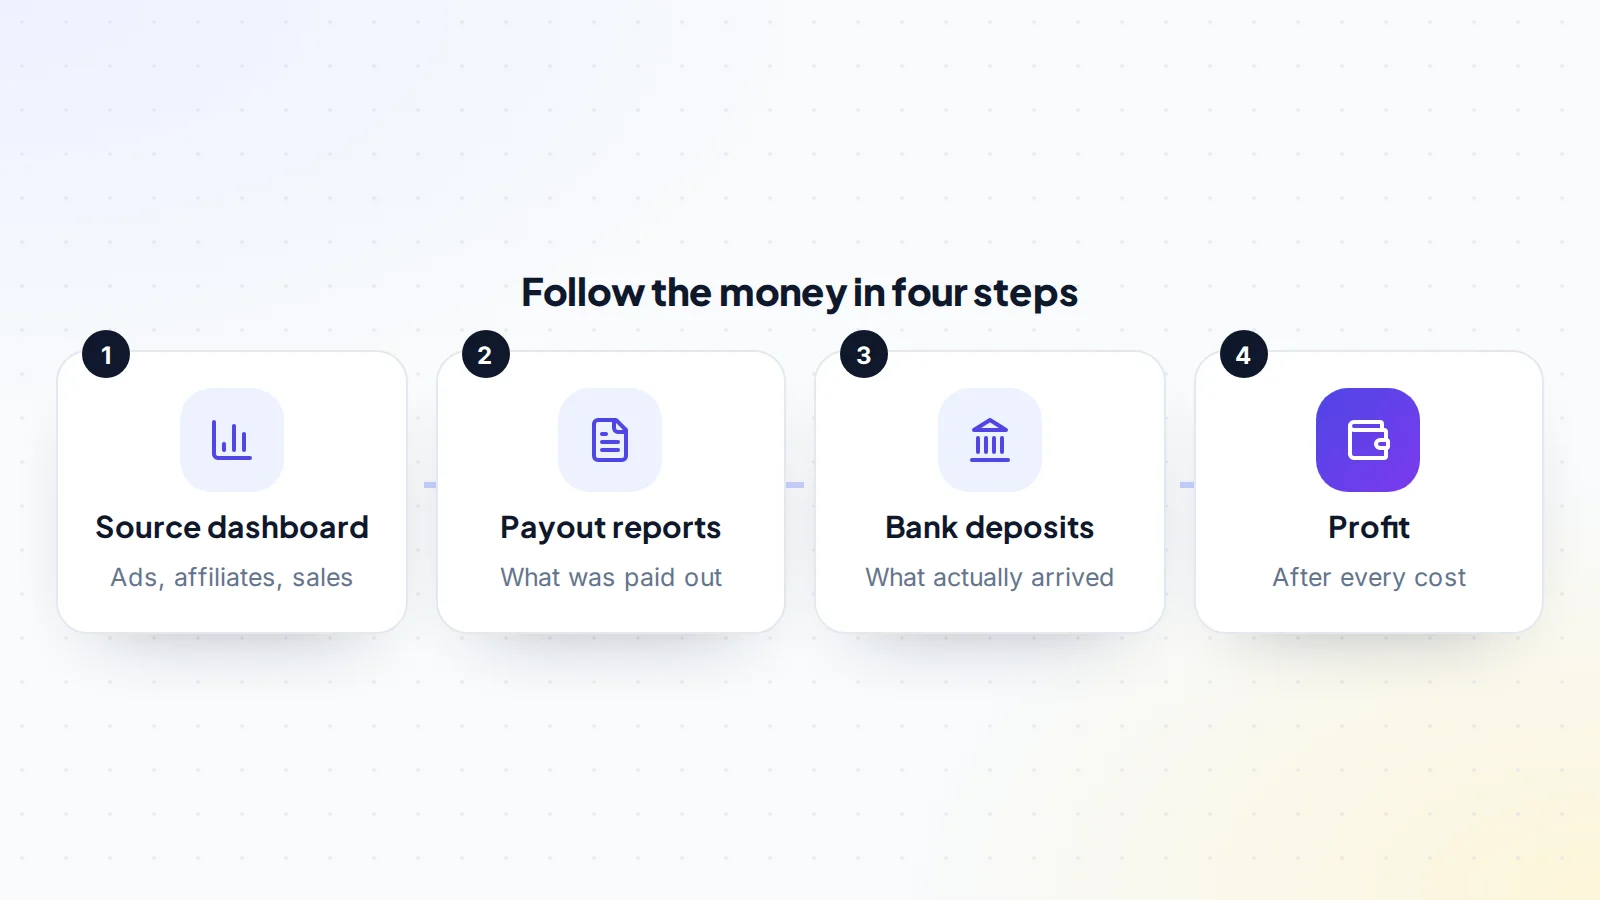
Step 4: Rebuild the costs
Profit matters more than revenue. Rebuild costs for each month from bank and card statements: hosting, tools, writers, developers, ads, product costs, payment fees and any paid help. Compare your figure with the seller’s profit statement. Missing costs are the most common reason claimed profit is too high. In the US, the IRS’s guide for small businesses explains which expenses are ordinary and necessary business costs, which helps when deciding what belongs in the accounts. Our guide to revenue vs profit explains why profit drives the price.
What to check by business type
- Content and affiliate sites: ad network and affiliate dashboards by month, earnings per page, and commission rate changes.
- E-commerce stores: store sales, refunds and returns, payment processor payouts, and product costs from supplier invoices.
- SaaS and memberships: recurring revenue, churn, failed payments and refunds in the billing platform.
- Digital products: platform sales reports, refunds and payouts.
- Lead generation and services: client contracts, invoices and payment records, and whether clients will continue.
Spot-check individual transactions
Totals can hide problems that individual transactions reveal. Pick a few months at random and trace specific items: a handful of orders from the store to the processor to the payout; a few affiliate commissions from the dashboard to the payment; an ad network payment from its statement to the bank. Check customer details look real, amounts make sense and refunds are recorded. If a store’s orders come from a small number of repeat buyers, or amounts are oddly round, ask why. Spot checks take little time and are one of the best ways to catch revenue that has been inflated with self-purchases or invented sales.
Look at the full history
Ask for at least 12 months, preferably 24. Check:
- Seasonality: which months are strong and weak, year on year.
- Trend: is income steady, growing or falling?
- One-off income: a large sponsorship or a viral month shouldn’t be counted as recurring.
- Changes in commission rates or ad rates that affected income.
Our guide to trailing twelve months profit shows how buyers average it.
Check that income follows traffic
Income usually moves with traffic. If traffic rose by 20%, ad and affiliate income should broadly rise too, unless something else changed. Compare monthly income with sessions from analytics. Income that jumps without a rise in traffic, or traffic that rises while income doesn’t, needs an explanation. For affiliate sites, check that the pages earning the most commission are the ones getting traffic.
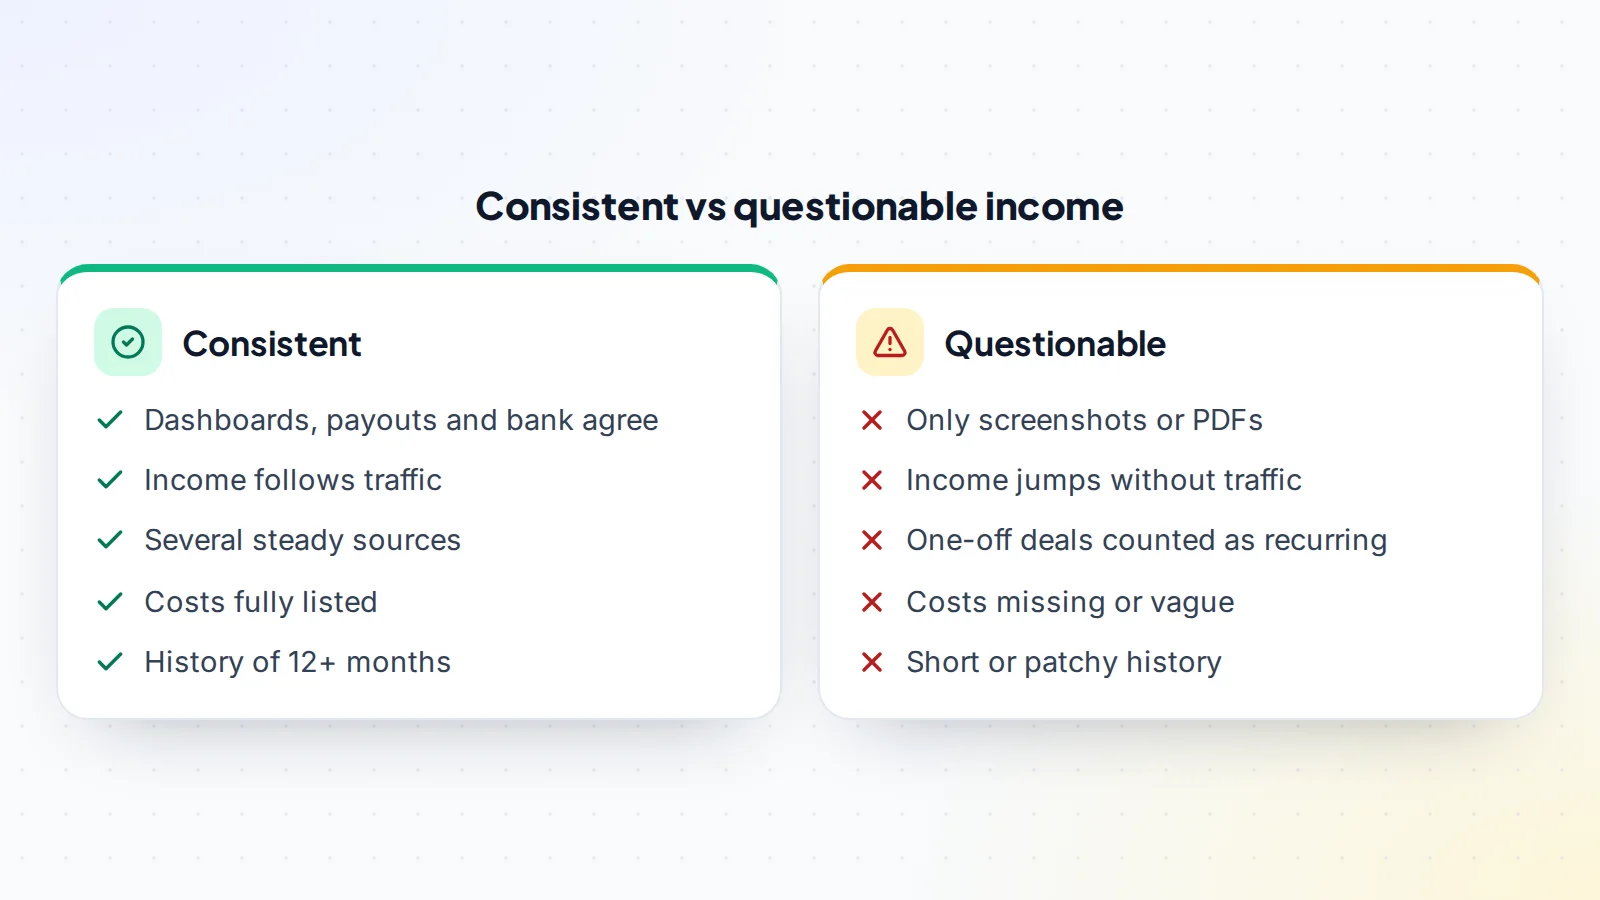
Warning signs of inflated income
- The seller will only share screenshots or exported PDFs.
- Payouts don’t match bank deposits.
- A sudden rise in income just before listing.
- Income from sources that can’t be shown live.
- One-off deals presented as monthly income.
- Costs missing, such as writers or tools you can see the site uses.
- Income that depends on accounts that can’t transfer, such as an affiliate account in the seller’s name with no replacement plan.
Our guide to fake revenue screenshots explains how edited proof is spotted.
Will the income transfer?
Verified income is only worth paying for if it continues after the sale. Check each source’s terms on change of ownership. Some affiliate programmes don’t allow accounts to be assigned without permission; Amazon’s Associates agreement, for example, says it may not be assigned without Amazon’s express prior written approval. In those cases, the buyer usually opens their own account and replaces links. Plan this before closing, and price in any risk.
Refunds, returns and disputes
Gross sales overstate income if refunds, returns and card disputes aren’t taken off. Ask for monthly refund and dispute figures alongside sales, and check them in the payment processor. A rising refund rate can signal product problems or aggressive marketing that a buyer would inherit. For subscription businesses, look at failed payments and involuntary churn too.
Currency, fees and timing
Income may be earned in one currency and paid in another, with conversion fees along the way. Processors and networks also take fees before paying out. Work in one currency, use net payouts as the base for revenue, and note any fees you’ll face that the seller didn’t, such as a different payout country or account type. Allow for timing differences: a network that pays sixty days after month end will show different numbers in the dashboard and the bank for the same month.
Questions to ask the seller
- Which sources produce income, and what share does each provide?
- Can you show each dashboard live, and the matching payouts and deposits?
- Which costs are paid personally rather than by the business?
- Has any income been one-off, or changed recently because of rate changes?
- Which income accounts can transfer, and which need replacing?
- What were refunds, returns and disputes each month?
Clear, consistent answers make it straightforward to verify website revenue and agree a price both sides can defend.
If the seller won’t share
Some sellers are cautious about sharing detailed financial data early, which is reasonable before an offer. Agree a stage at which they’ll share it, such as after a letter of intent and under an NDA. But if a seller refuses to show income at the source at any stage, treat the claimed numbers as unverified and either walk away or price accordingly.
Add-backs and owner costs
Sellers sometimes add costs back to profit, such as their own salary, a one-off redesign or personal expenses paid by the business. Some add-backs are fair; others hide real costs a buyer will still have. Ask for each add-back with evidence and a reason, and accept only those that genuinely won’t continue. If the seller’s own work is excluded from costs, remember that you’ll need to cover it yourself or pay someone. Our guide to add-backs explains which are usually accepted, and our guide to owner hours covers the time side.
Handling financial data safely
Bank statements and payment reports contain sensitive information. Ask the seller to hide unrelated personal transactions, share documents through the platform or a secure data room rather than email, and agree what happens to copies if the deal doesn’t go ahead. An NDA before detailed financials are shared is normal. Our guide to the due diligence timeline shows when each kind of data is usually shared.
Record what you verified
Once you’ve checked the numbers, write down the monthly figures you’re relying on and how you verified each one. Include them in your offer or letter of intent, so the deal is clearly based on verified profit. If anything later turns out to be different, there’s a clear record of what was shown and when.
A worked example
The numbers below are made up to show the method.
A listing claims $4,000 a month in profit from display ads and two affiliate programmes. On a screen-share, the ad network shows an average of $2,600 a month, and the affiliate dashboards $1,900, totalling $4,500 in revenue. Payouts match the dashboards, and bank statements show the deposits. Rebuilding costs from card statements, the buyer finds $700 a month for writers and tools, compared with the $500 in the listing, so profit is $3,800, not $4,000. One month includes a one-off $1,200 sponsorship, which the buyer removes from the average. The buyer offers on $3,700 a month of verified, recurring profit and explains the adjustments.
Making verification easier
Sellers can speed this up by preparing monthly profit and loss statements matched to payouts, and by offering read-only access. On digiflippers.com, sellers can verify key figures, and buyers see which numbers are verified; our guide to verified metrics explains how. Our guide to giving Google Analytics access covers the traffic side.
Verify website revenue: the checklist
- Every income source listed.
- Each source shown live in its own dashboard.
- Dashboard earnings matched to payout reports.
- Payouts matched to bank or PayPal deposits.
- Costs rebuilt from bank and card statements.
- 12 to 24 months reviewed, with one-off income separated.
- Income compared with traffic month by month.
- Transfer terms checked for each income source.
- Offer based on verified, recurring profit.
Ready to find your next asset?
Browse listings with verified numbers, ask sellers your questions before you offer, and agree every step in a free Deal Room.
Frequently asked questions
How do I verify a website’s revenue?
Check each income source live in its dashboard, match earnings to payouts, match payouts to bank deposits and rebuild costs to calculate real profit.
Are screenshots enough proof?
No. Screenshots are easy to edit. Use live screen-shares you direct, read-only access and bank records.
Why don’t dashboard earnings match bank deposits exactly?
Many networks pay a month or more after earnings, and fees or currency conversion can change amounts. The totals should line up over time.
What’s the most common problem?
Missing costs, which make profit look higher than it is. Rebuilding costs from statements catches them.
Should I count one-off income?
No, not as recurring income. Separate it and value the business on what repeats.
What if an income source can’t transfer?
Plan to replace it with your own account, and price in any risk that income changes during the switch.
How long does it take to verify website revenue?
For a small site with a few income sources, a few hours to a day once you have access and statements. Larger businesses take longer.